Solar energy has gained widespread popularity as a sustainable and renewable energy source. One of the key components in a solar installation is silicone sealant. This sealant ensures that the solar panel system remains leak-proof and weather-resistant. In this article, we'll guide you through the step-by-step process of applying solar silicone sealant to ensure a seamless and reliable solar installation.
Step 1: Gather required materials
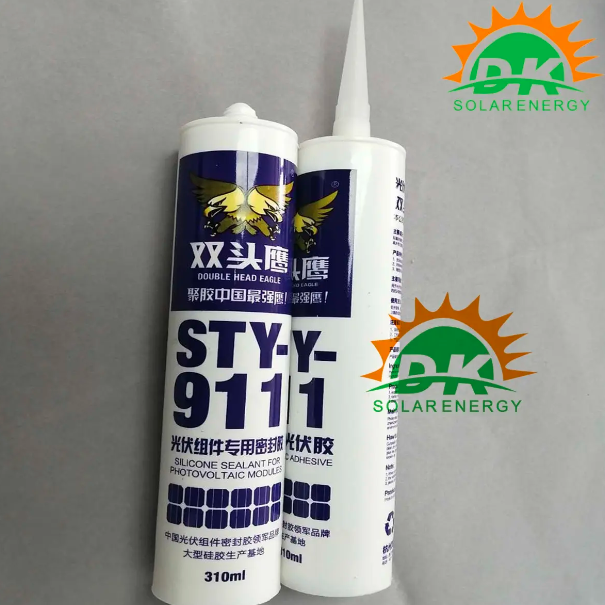
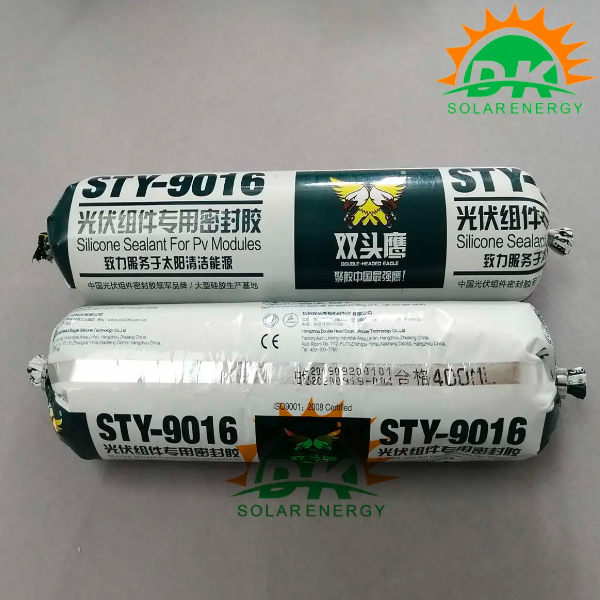
To begin the process, gather all necessary materials. These include solar silicone sealant, a caulk gun, a putty knife, silicone remover, masking tape, rubbing alcohol and a clean cloth.
Step 2: Prepare
Prepare the surface to be applied with silicone sealant. Clean thoroughly using silicone remover and a clean cloth. Make sure the surface is dry and free of any debris or dirt. Additionally, use masking tape to cover any areas that should not be exposed to the sealant.
Step Three: Apply Silicone Sealant
Load the silicone sealant cartridge into the caulking gun. Cut the nozzle at a 45-degree angle, making sure the opening is large enough for the desired bead size. Insert the cartridge into the caulk gun and trim the nozzle accordingly.
Step 4: Start sealing
Once the gun is fully loaded, begin applying the silicone sealant to the designated areas. Start on one side and gradually work your way to the other side in smooth, consistent movements. Keep the pressure on the caulk gun steady for an even and consistent application.
Step 5: Smooth out the sealant
After applying the bead of sealant, smooth and shape the silicone with a putty knife or your fingers. This helps create an even surface and ensures proper adhesion. Be sure to remove excess sealant to maintain a tidy surface.
Step 6: Clean up
Once the sealing process is complete, remove the masking tape immediately. This prevents the sealant on the tape from drying out and becoming difficult to remove. Use rubbing alcohol and a clean cloth to clean any residue or smudges left behind by the sealer.
Step 7: Let the sealant cure
After applying a silicone sealant, it is important to give it enough time to cure. Check the manufacturer's instructions for recommended curing time. Make sure the sealant is fully cured before exposing it to any external factors such as sunlight or rain.
Step 8: Regular Maintenance
To ensure the longevity of your solar installation, perform regular maintenance inspections. Check the sealant for any signs of cracking or deterioration. Reapply silicone sealant if necessary to keep your solar panel system leak-proof and weather-resistant.
In summary, effective application of solar silicone sealant is critical to the proper operation and longevity of your solar installation. By following these step-by-step instructions, you can ensure your solar panel system is leak-proof and weather-resistant. Remember, regular maintenance and inspections are critical to ensuring your sealant remains intact over the long term. Harness the power of the sun with confidence with proper solar silicone sealant application techniques.
Post time: Sep-22-2023