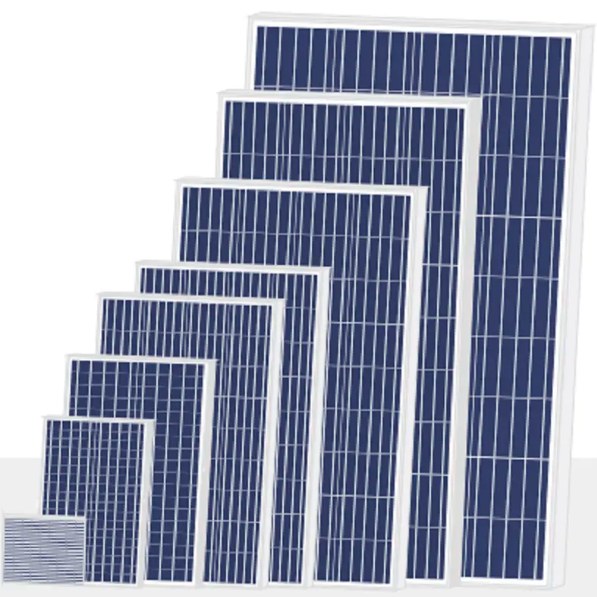
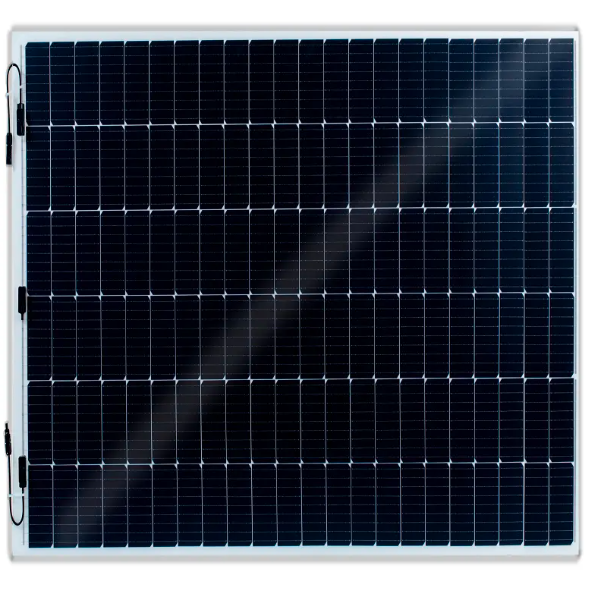
As renewable energy becomes more popular, many homeowners are considering installing solar panels on their homes. Solar panels provide an environmentally friendly and cost-effective way to generate electricity, and as technology advances, they are becoming more accessible than ever. If you're considering installing solar panels on your home, here are some steps to help you get started.
1. Assess your energy needs
Before you start installing solar panels, it’s important to assess your energy needs. Look at your electric bill to determine how much energy your home uses on a daily and monthly basis. This will help you determine the size and number of solar panels you need to meet your energy needs.
2. Choose the right location
The next step in installing solar panels on your home is choosing the right panel location. Solar panels require adequate sunlight to operate effectively, so it is important to install them in an area that receives adequate sunlight throughout the day. South-facing roofs are usually the best choice for solar panels because they receive the most sunlight. If your roof is not suitable for solar panels, ground-mounted panels are also an option.
3. Check licenses and regulations
Before beginning the installation process, be sure to check with your local government for any permits or regulations that may apply to installing solar panels. Some areas have specific requirements for the installation of solar panels, so it's important to understand these regulations to ensure your installation complies.
4. Hire professional installers
While it is possible to install solar panels yourself, it is recommended to hire a professional installer to ensure that the panels are installed correctly and safely. A professional installer will have the expertise and experience to properly install the panels, as well as access to the necessary equipment and materials.
5. Install the installation system
Once you have chosen a location for your solar panels and hired a professional installer, the next step is to install the mounting system. The mounting system secures the panels to the roof or the ground, so it is important to ensure they are installed correctly to prevent any damage to your property.
6. Install solar panels
Once the mounting system is in place, it’s time to install the solar panels. The panels need to be placed and connected together carefully to ensure they are all connected and functioning properly. The installation process may take several days, depending on the size of your system and the complexity of the installation.
7. Connect to the grid
Once solar panels are installed, they need to be connected to the grid to start generating electricity for your home. This requires the installation of an inverter, which converts solar energy into usable electricity for the home. Your installer will be able to handle this process and make sure everything is connected and functioning properly.
By following these steps, you can ensure a smooth and successful solar panel installation on your home. With the help of a professional installer, you can start enjoying the benefits of solar energy and reducing your carbon footprint while also saving money on your energy bill.
Post time: Jan-12-2024